1.Drag and drop the clip into the timeline.
2.Place the cursor where you want to split the clips.
 3.Go to Clip and then select Split.

Your video has been split!
Copyright © 2008 Laila Rajaratnam. All Rights Reserved
Read more Entry>>Computers - Internet - Guides - How To- For newbies!
 3.Go to Clip and then select Split.

Copyright © 2008 Laila Rajaratnam. All Rights Reserved
Read more Entry>>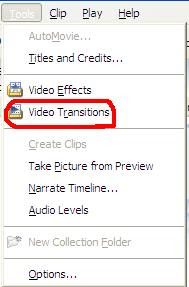
2. On the Storyboard orTimeline, move the playback to the space between two clips.
3. From the Collections Pane, click the video transition to be added to the timeline.
4. From the Clip menu, select Add to Timeline.
Done!
 2. Select the folder where your Audio or Music Files are stored. Like My Music


 5. The Select Title Font and Color page appears. Select the options to change the Font style, color, size and alignment.
 6. To edit the title text and change the title animation , select the More options and make the relevant changes.
 Click Done when you have finished and add the title and text to the movie!
Copyright © 2008 Laila Rajaratnam. All Rights Reserved
Read more Entry>>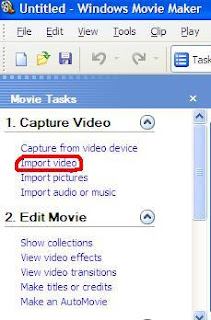 Choose the video you want to import and it will be imported to the collections pane in windows Movie Maker.
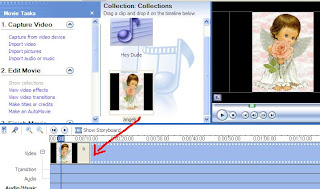 Click File and choose Save Movie File.
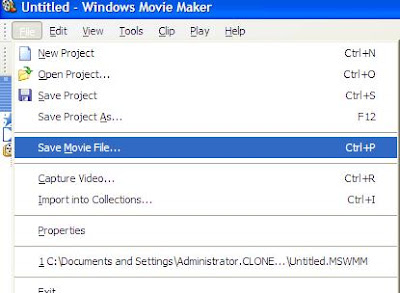 The Save Movie Wizard will appear.
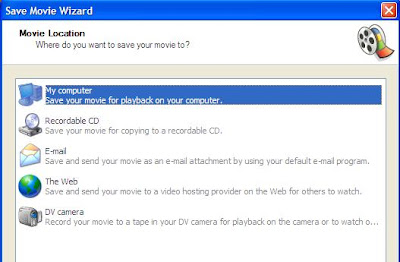
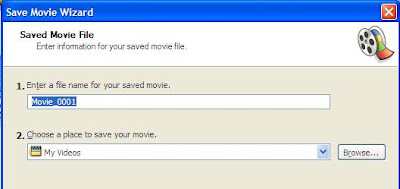 Click on the Show more choices
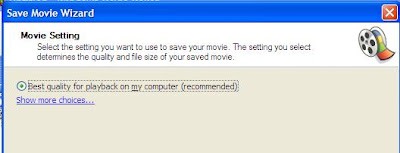 Check the box Other settings
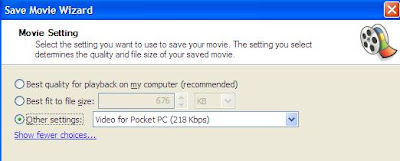
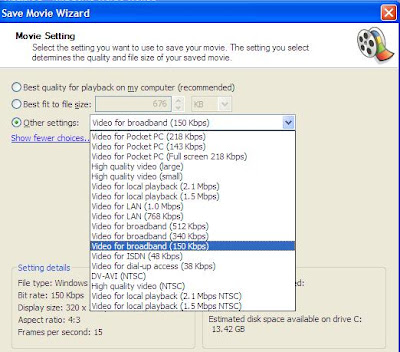 You can choose which ever option suits you and click next.
Copyright © 2008 Laila Rajaratnam. All Rights Reserved
Read more Entry>>